# (Deprecated) Customer UI
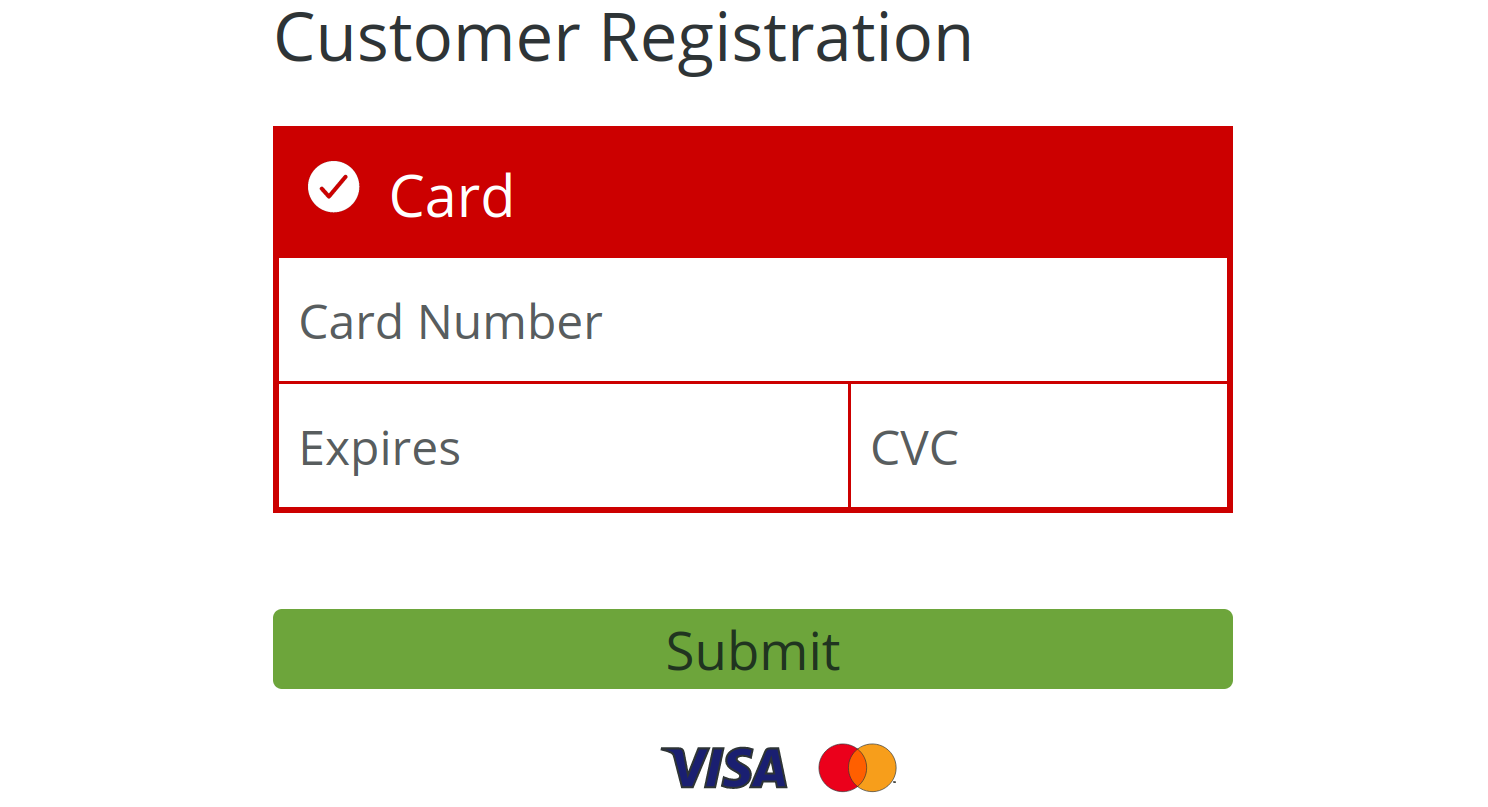
Customer Registration guides your users through the process of registration. It handles the full process of entering the card information as well as performing the full 3D Secure authentication procedure. Once everything is done you will receive a customer ID that can be used to perform payments with the user’s card, without the need for any interaction with the user.
The Customer component lets your users register contact and card information that gets authorized for future payments, such as subscriptions or other recurring payments.
Adding payment methods on an existing customer can be done using the Customer Registration UI. A customer can also add a payment method through the Customer App.
# Registration
The Customer Registration user interface is web based. It can either be integrated in an existing web application or be used in native application via webview.
<!DOCTYPE html>
<html lang="en">
<head>
	<meta charset="UTF-8">
	<meta name="viewport" content="width=device-width, initial-scale=1.0">
	<meta http-equiv="X-UA-Compatible" content="ie=edge">
	<title>Customer Registration</title>
	<script src="https://merchant.intergiro.com/ui/onboard/intergiro-onboard.js"></script>
	<link href="https:/cdn.merchant.intergiro.com/themes/light/index.css" rel="stylesheet">
</head>
<body>
    <header><h1>Customer Registration</h1></header>
    <main>
        <form action="done" method="get">
            <intergiro-customer-registration
              api-key="<public-api-key>">
            </intergiro-customer-registration>
	    </form>
    </main>
</body>
</html>
A fully working example is available on GitHub (opens new window).
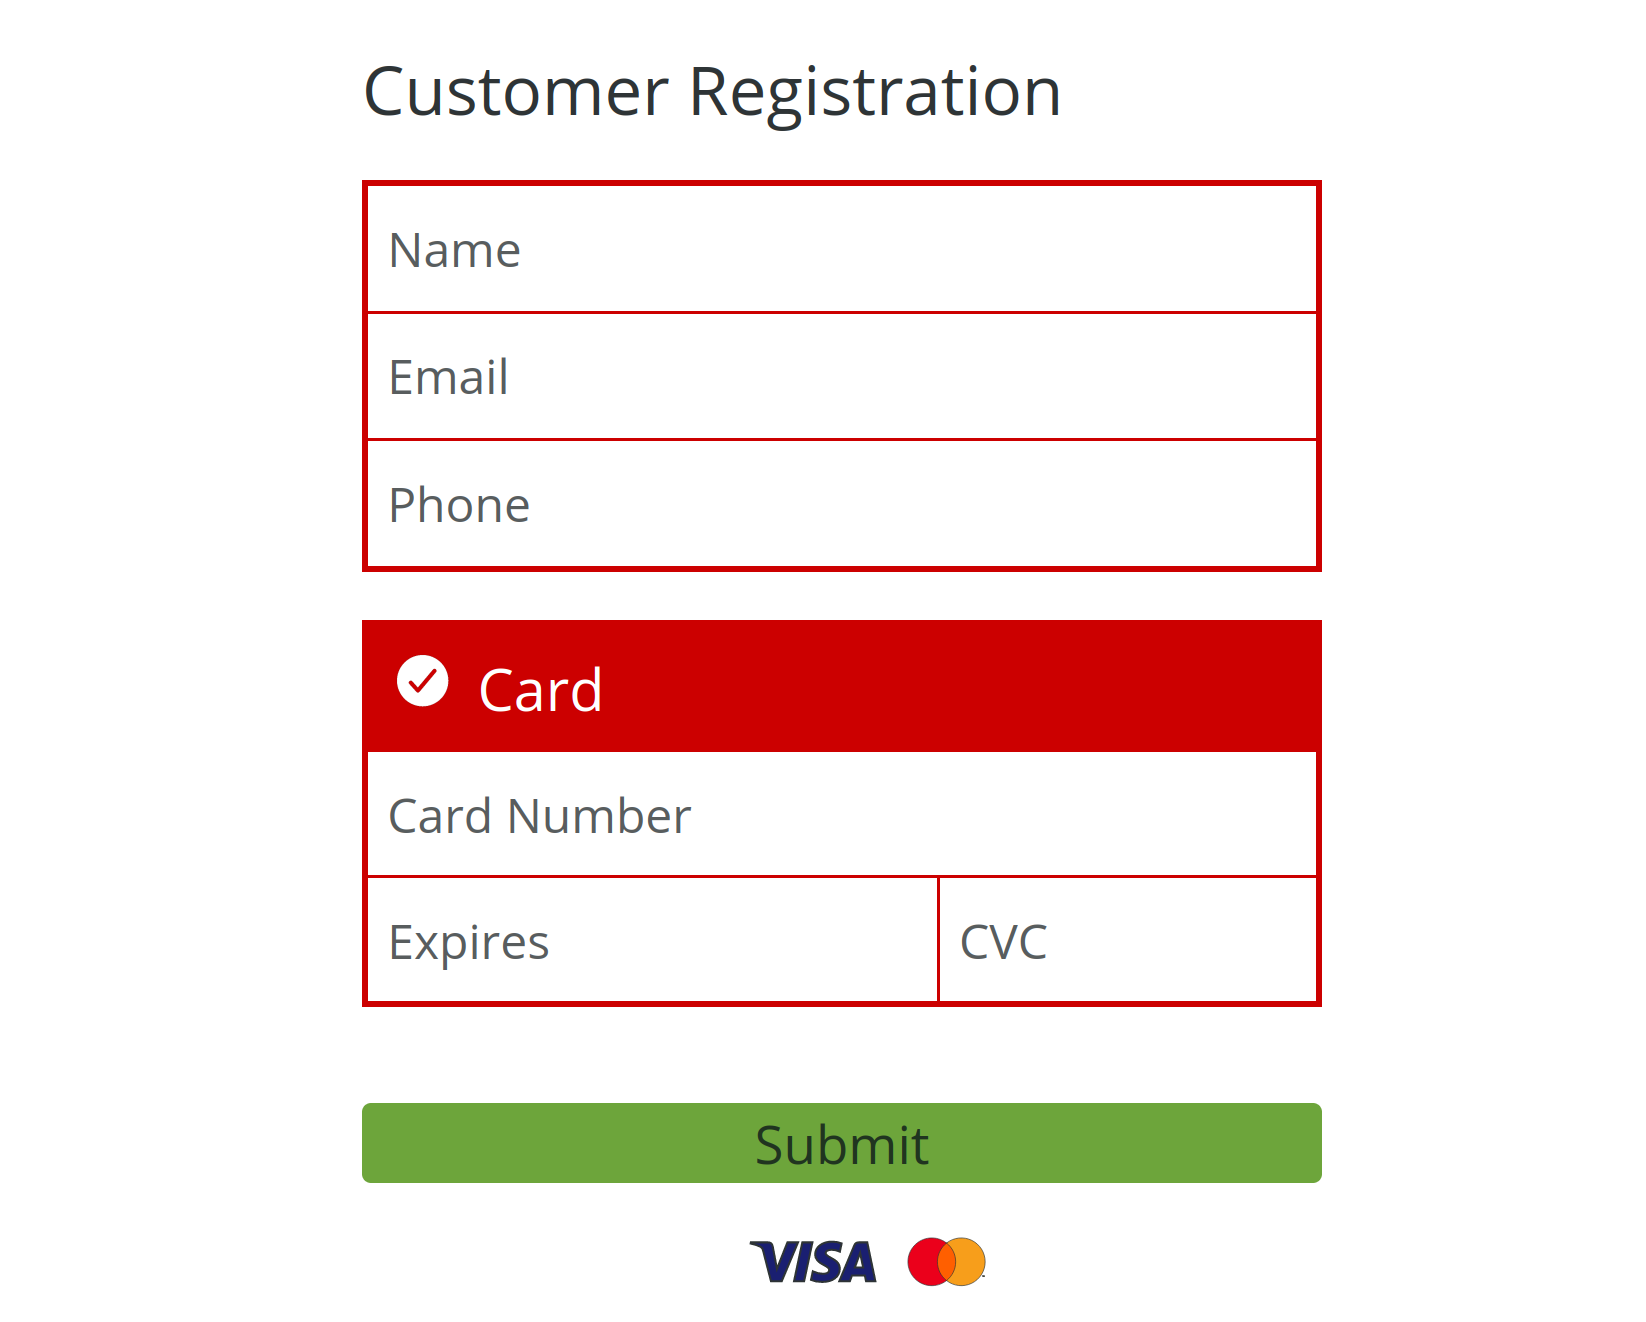
Contact information can be set while registrating the customer by adding additional input fields in the form, with the attribute name set to "name", "email" or "phone".
To specify the customer number, populate the number attribute of the component.
<form action="done" method="get">
    <input type="text" name="name" placeholder="Name"/>
    <input type="email" name="email" placeholder="Email"/>
    <input type="tel" name="phone" placeholder="Phone"/>
    <intergiro-customer-registration number="<your-customer-number>" api-key="<public-api-key>">
    </intergiro-customer-registration>
</form>
Once the user has entered their card information and successfully performed the 3D Secure authentication the form will be submitted with the following data in the customer field.
{
  "id": "YXcOX1qYLFPSDLpi",
  "number": "JoaOrAnJDwnlWEuE",
  "method": [
    {
      "type": "card",
      "created": "2020-03-09T20:53:12.776Z",
      "scheme": "visa",
      "iin": "411111",
      "last4": "1111",
      "expires": [2, 22]
    }
  ]
}
# Adding Payment Methods
The customer registration component can also be used to add payment methods for an already existing customer. For this, add a customer attribute with a Customer object, or a stringified Customer object, instead of specifying the number attribute.
<intergiro-customer-registration
  customer="<stringified-customer-object>"
  api-key="<public-api-key>"
></intergiro-customer-registration>
# Customer app
Intergiro Customer is a personal app that is provided to all your customers, to make it easy to update payment and contact information, and to provide easy access to all orders associated to the customer.
# Website integration
The customer app can be integrated into your website as an embedded component. The <intergiro-customer> component can be used to access the entire customer app, or to access individual components of the app, such as the payment methods, order history or subscriptions.
To integrate the customer app to your website, a unique customer key is needed for each customer. Customer keys are valid for three days until they expire and should thereafter be renewed.
Full customer app example implementation:
<!DOCTYPE html>
<html dir="ltr">
<head>
	<script type="module" src="https://customer.merchant.intergiro.com/intergiro-customer.esm.js"></script>
	<script nomodule src="https://customer.merchant.intergiro.com/intergiro-customer.js"></script>
	<link href="https://merchant.intergiro.com/intergiro/index.css" rel="stylesheet" />
</head>
<body>
    <intergiro-customer api-key="<your-customer-key>"></intergiro-customer>
</body>
</html>
Single component example implementation. Possible component identifiers are "method", "orders" or "subscription".
<intergiro-customer api-key="<your-customer-key>" component="<component-identifier>"></intergiro-customer>
# Customer API key
In order to create a Customer API key, a customer id and a private key is needed. Depending on the private key used to create the customer keys, certain features may be explicitly disabled or enabled.
Example request:
POST /v1/customer/:customer_id

Host: merchant.intergiro.com
Content-Type: application/json
Authorization: Bearer <private.api.key>
A successful response will return a Customer API key.
# Create App Login
To give access to the Customer App to the contact, you can send them a single use login Link via email. For this feature to be available, a constant email has to be set.
# Request
To create such a login link send the following request to the customer app login. A request to this endpoint can either be made with a "private" authorization key or with the "customer" authorization key. With the "customer" authorization key you have to specify "me" as the customer id, for "private" authorization specify the customer id.
POST /customer/:customer_id/link

Host: merchant.intergiro.com
Authorization: Bearer <private.api.key> | <customer.api.key>
# Response
A successful request made with customer authorization will give an empty response. Regardless of authorization, an email including the single use login link will be sent to the contact email.
{
    "url": "https://merchant.intergiro.com/customer/:customer_id/link/0987654321098765",
    "id": "0987654321098765",
    "created": "2020-12-08T09:19:42.835Z",
    "expires": "2020-12-11T09:19:42.835Z",
    "key": "abc.def.ghi",
    "contact": "m.exampleperson@example.net",
    "used": false
}
# Customized theming
Customized theming can be set to the customer app by specifying specific styling attributes. This is done by entering a stringified JSON object into the cosmetic attribute. All available styling options are seen in the figure below.
cosmetic = {
    "font_family":"Open Sans, sans-serif",
    "header":{"background":"86,86,86","color":"255,255,255"},
    "body":{"background":"227,227,227","color":"0,0,0"},
    "success":{"background":"81,196,115","color":"255,255,255"}
}
Note: Colors are specified using RGB comma separated string e.g. "0,0,255" for blue.
Example implementation with a customized theme:
<intergiro-customer api-key="<your-customer-key>" cosmetic='{
    "font_family":"Open Sans, sans-serif",
    "header":{"background":"86,86,86","color":"255,255,255"},
    "body":{"background":"227,227,227","color":"0,0,0"},
    "success":{"background":"81,196,115","color":"255,255,255"}
}'></intergiro-customer>